Watercolour Beginners need good, solid logical step by step, help and tips in getting started. What can I suggest? First of all, a logical sequential ordered Learning plan is called for.

Haphard reading of art books presents a problem of chaos for the watercolour beginner. In chaos most of us do not learn as easily. And many articles, magazines, books that I read as a beginner served to confuse me or to make my painting efforts go south. The information was very conflicting, creating chaos in my mind.
Bear in mind, this post – is just one person’s opinion! Hopefully, one that you will find makes some sense to you and has immediate relevance.
Know what Watercolour’s Core Basics are!
Watercolour Beginners, find out what the basics are and then Study, read, practice them. diligently. Every day for 5 minutes will work. Know the pitfalls. Know the correction methods.
Realize art is a skill, skills can be learned and mastered… with time and practice.
What are Watercolour’s Core Basics? What is Most important?

Watercolour Materials
Watercolours’ Materials top my list in importance. With discouraging materials that fight me, I create images that in turn, discourage my further efforts.
Buy the least amount you can, but get the best you can.
That means: 100% cotton rag paper Arches rough or cold press – use the front, the back and rinse off and go again. It is your friend, it makes your beginner efforts look Better.
It costs right about $10 (22×30 sheet.) Cut into 1/4s. Now, there’s 4 pieces that you can use front side and back = 8 working pieces! That is $1.25 per piece for Great Paper!! On top of that, you can take that paper and rinse off the paint (pb28, py175, pv19) let the paper dry, flatten it out, AND RePaint all over again. That, is really good value for the watercolour beginner. imo.
Just 3 Tubes of Paint: cobalt blue pb28 winsor lemon py175 permanent rose pv19 with these you can mix 100’s of vibrant colours and sensational natural foliage greens!
One Brush: Perfect for watercolour beginners. Rekab 320s #2 Squirrel mop exquisite fine point, plus great load up, perfect responsive handling.
Watercolour Tone
Tonal Values, light and shade. Light tone, mid tone and dark tone. You must have a bare minimum of those 3 tones in order to have a successful art image with depth.
If your scene or subject looks ‘flat’ or ‘floats’ – look first for the tonal value situation.
90% of the time the tones are not dark enough or gradated sufficiently to create the depth needed.
Watercolour darks are created with MORE Paint, less water. Light tones use the white of the paper, or a lot … of water!
There is a general pattern you can remember for most things…. Sky is usually darker at top, gets lighter at horizon. Foreground darker at base, gets lighter as it goes up towards the horizon area.
Most shapes will need: light tone, mid tone, dark tone with it.
Make sure you’ve know your light source direction. This is easy to forget when you are just beginning with watercolours, but will make a big difference to the painting.
Watercolour Techniques
Watercolour techniques are quite varied! A very brief overview of the most useful for the watercolour beginner getting started are: wet in wet (handy for backgrounds) graded wash (handy for graded skies) flat wash (handy for far distant mountain areas) dry brush (handy for foreground bark, beach textures) splatter (handy for foreground textures.) There are quite a few more creative techniques for you to experiment with as you advance forward.
Watercolour Colour Mixing
Colour mixing is made much easier, less overwhelming. When you have those 3 tubes of paint!! (pb28, py175, pv19)
The harmony and unity in your paintings increases. The foliage greens look better, more natural than the artificial Sap green, Hookers green, viridian green that often get slapped onto paintings for foliage. Tube greens are ‘pretty’ but they are much better suited to things like garden hoses, than natural tree foliage.
Aerial Perspective is simpler to figure out and assimilate into your painting approach.
Aerial perspective is basically placing warmer colours in front of cooler colours in order to create the illusion of depth. You might place a strawberry red in front of a sunflower yellow, and a lime yellow in front of blue, the blue in front of the grey. The Sequence to Aerial Perspective back to front is: soft pale grey, lavender-blue, blue, green, yellow, orange, warm red.
Basic Beginner Watercolour Colour mixing tips ….
- red and yellow = orange
- yellow and blue = green
- blue and red = purple
- blue and orange = grey OR brown (the higher the red ratio, the more brown it goes, More yellow … goes greenish)
- yellow and purple = grey OR brown
- red and green = grey OR brown
Watercolour Design
Composition and Design elements to remember are: Simplify all the needless clutter out of the painting!!
Have just one, focal point. And place it off centre (divide the image into horizontal and vertical thirds; see the 4 intersections, place focal point in One of those intersections) Try to avoid dividing painting in half and half ratios. Utilize large shapes and nice negative spaces. Eliminate the ‘crammed in’ appearance.
Watercolour Depth
- Simple Watercolour Beginner basics of colour and tone and texture help immensely here.
- Remember Aerial perspective!
- Next, use tonal values to create depth – darker in the foregrounds, mid tones in the middle and getting paler in the backgrounds is a handy reference guideline to remember.
- Detail, textures…. lots in the foreground, some in the middle ground, very little to none in the background. These 3 Techniques will go a long ways to get you started, in creating depth!
- Sizes and shapes will change as objects come forward. More contrast into the foregrounds as well. Overlapping of objects is a very easy tool to help obtain more depth for the beginner as well.
Process of Starting a Watercolour Painting
- Relax. Do some easy colour mixing Warm ups.
- Choose subject using a camera/viewfinder to delete needless clutter.
- Identify focal point. Identify light source direction.
- Think about the mood you feel and want to convey.
- Identify the colours you’ll mix and use i.e. (purple, green, grey.)
- Prepare your paints.
- Choose the paper.
- Reinforce background is painted first, then middle ground, then foreground and last is the focal point with its ‘details.’
- Identify and preplan your approach, i.e. background is wet in wet and its a grey lavender at a medium light tone. Etc. This will help you enormously as you begin to paint!
- Paint background, then middle ground, then foreground, then focal point. Details are Last!! Less is More.
Books and Magazines I’d recommend for watercolour beginners:
- Tony Smibert, Landscapes from the Imagination a fantastic how to book with great illustrations, explanations, detailed, perfect!
- The Australian Artist magazine
- artists to review online: Jan Vincent, David Taylor, Robert Wade, Eric Weigardt, Alvaro Castagnet, Dale Chihuly (large paintings)
What I’d recommend with the regular watercolour books you may have, is to take a few and look through them quickly to take note of the main points and chapters. Then, with the major core basics, do as much study and practice as you can.
But, take each topic individually, one at a time. Trying to aim for one subject per 2 week period of time. This allows your time to absorb the information and time to practice it, giving you a much better chance of retaining the skills.

If you are able to go to weekly art classes to practice on a regular basis this is a great way to introduce consistency to your regime. At Atwell Gallery and the UWA extension courses I regularly reinforce these core basics while doing creative and experimental processes as well for the intermediates. The watercolour painting above, Sunrise, is another example of the types of approaches we do at both Atwell and the University courses. With the goal of clarity, luminosity, mood, tonal values and no fiddling high on the list.
Pitfalls
- cheap student grade materials
- fiddling overworking
- insufficient light, mid, dark tonal values
- using tube greens and not mixing own foliage greens
- details everywhere. getting carried away with the ‘details’ that you see
- not testing your colours on a piece of watercolour paper first
- too many colours, too many materials, too much too soon!
- not saving the white of your paper
- slapping on globs of yellow, to ‘brighten’ things up
- working on only one image at a time vs 2-3 i.e. ‘a production line’ approach
- using black, neutral tint or paynes grey
- not understanding the differences between: Transparents, Granulators, Stainers and Opaques
- painting objects way too small
Corrections
Watercolour correction methods really are most successful when the paint is either: Bone DRY or Shiny WET. Trying to ‘fast track’ either process will not be successful and leave the painting looking quite ‘out of sorts.’
Other options may include: glazing, scrubbing back to the white of the paper (IF using Arches paper) soft pastels, inks, collage, acrylics,


Some very helpful comments!
LikeLiked by 1 person
thank you very much! thanks for stopping by and for your feedback!
LikeLiked by 1 person
Thank you, Debi! I’m planning a watercolor painting soonish for my blog and will link back to your wonderful wisdom here. This will really help me as I plan my painting (although I was thinking of using a tutorial in a book initially). Maybe now I’ll feel a bit more confident veering from the tutorial. Thanks again!! Really appreciate this!
LikeLiked by 1 person
you’re welcome, I hope that these steps, will come in handy for you!! have fun painting 🙂 Debi
LikeLiked by 1 person
very interesting, Debi.
LikeLiked by 1 person
Awesome post – thanks for sharing. Someday I’d like to learn about painting with watercolors. Thanks!
LikeLiked by 1 person
So much food for thought. Might be interesting to see what people come up with if they start with some of these suggested materials and advice.
LikeLiked by 1 person
yes, indeed 🙂 I’d love to see their creative colour mixes and techniques
LikeLike
this article is really awesome! you are a fantastic tutor i have to say, well put and easy to understand for beginners’ entry level. keep up the good work, you’re really helping others (and myself) to learn and love and appreciate the process of working with watercolor! 🙂
LikeLiked by 2 people
thank you very very much 🙂 appreciate your feedback a lot debi
LikeLiked by 1 person
Great tips… My mom has recently joined some watercolours classes… I might give it a shot, why not!… It looks so creative and relaxing… A perfect hobby!…
All my best wishes. Aquileana 😀
LikeLiked by 1 person
it can be absolutely relaxing in the moment and depending on the person’s own personality…. as imaginative as they wish 🙂 Thank you for your comments and participation with my post – I appreciate it!
LikeLike
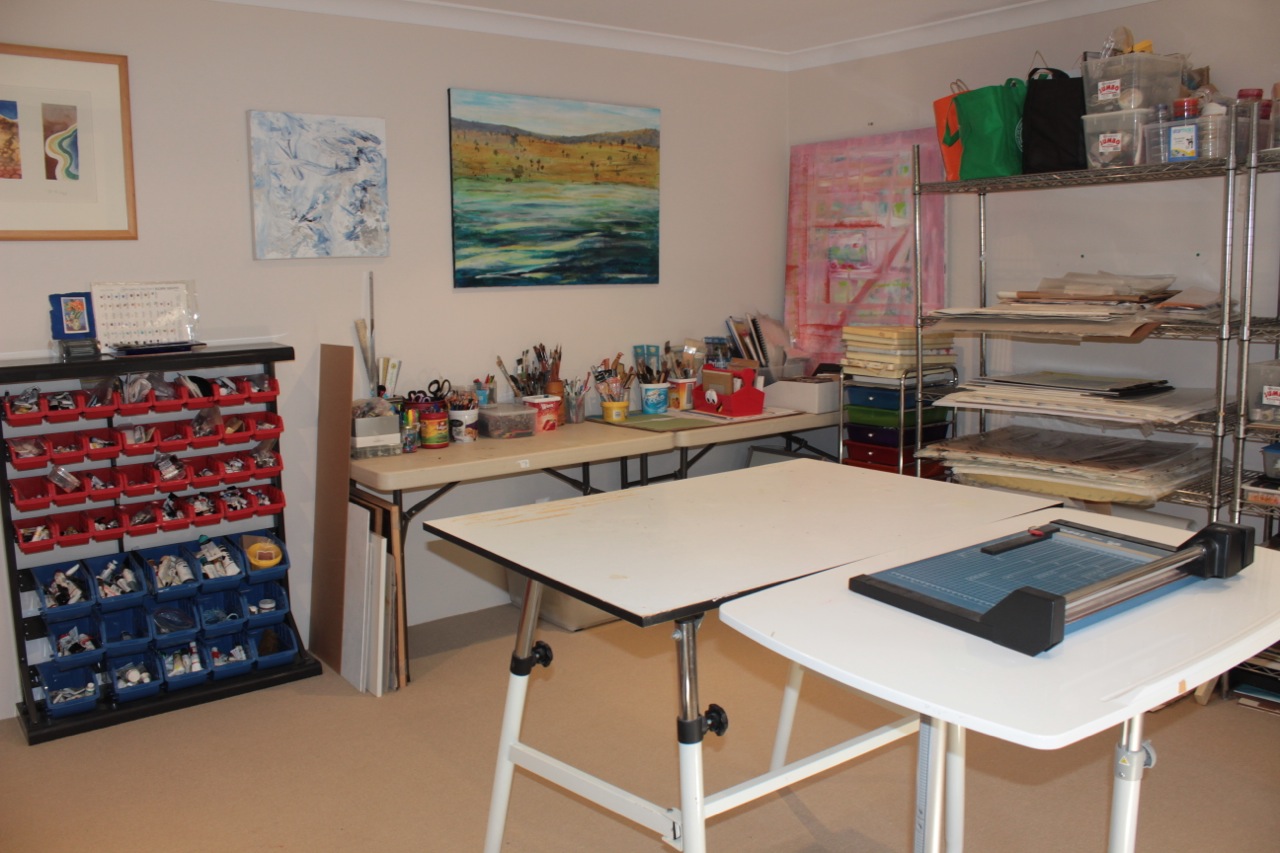
Such great advice. I’ve printed it out and will keep it the studio. Talking about the studio, yours is so organized and tidy. I daren’t take a picture of mine at the moment. Chaos is a good word to describe it. Somehow the work gets done however 🙂
LikeLiked by 1 person
Hi Andrew, Thank you very much for your feedback, much appreciated, as always 🙂 I do believe many artists get preoccupied with projects on multiple fronts, hence, the scarcity of time and energy left …. to clean. lol Truth be told, I had a bit of a ‘tidy up’ in order to take the picture, if that helps! At our last house, I’d labelled every drawer and shelf – made life so easy. haven’t done it here though,…maybe tomorrow.
LikeLiked by 2 people