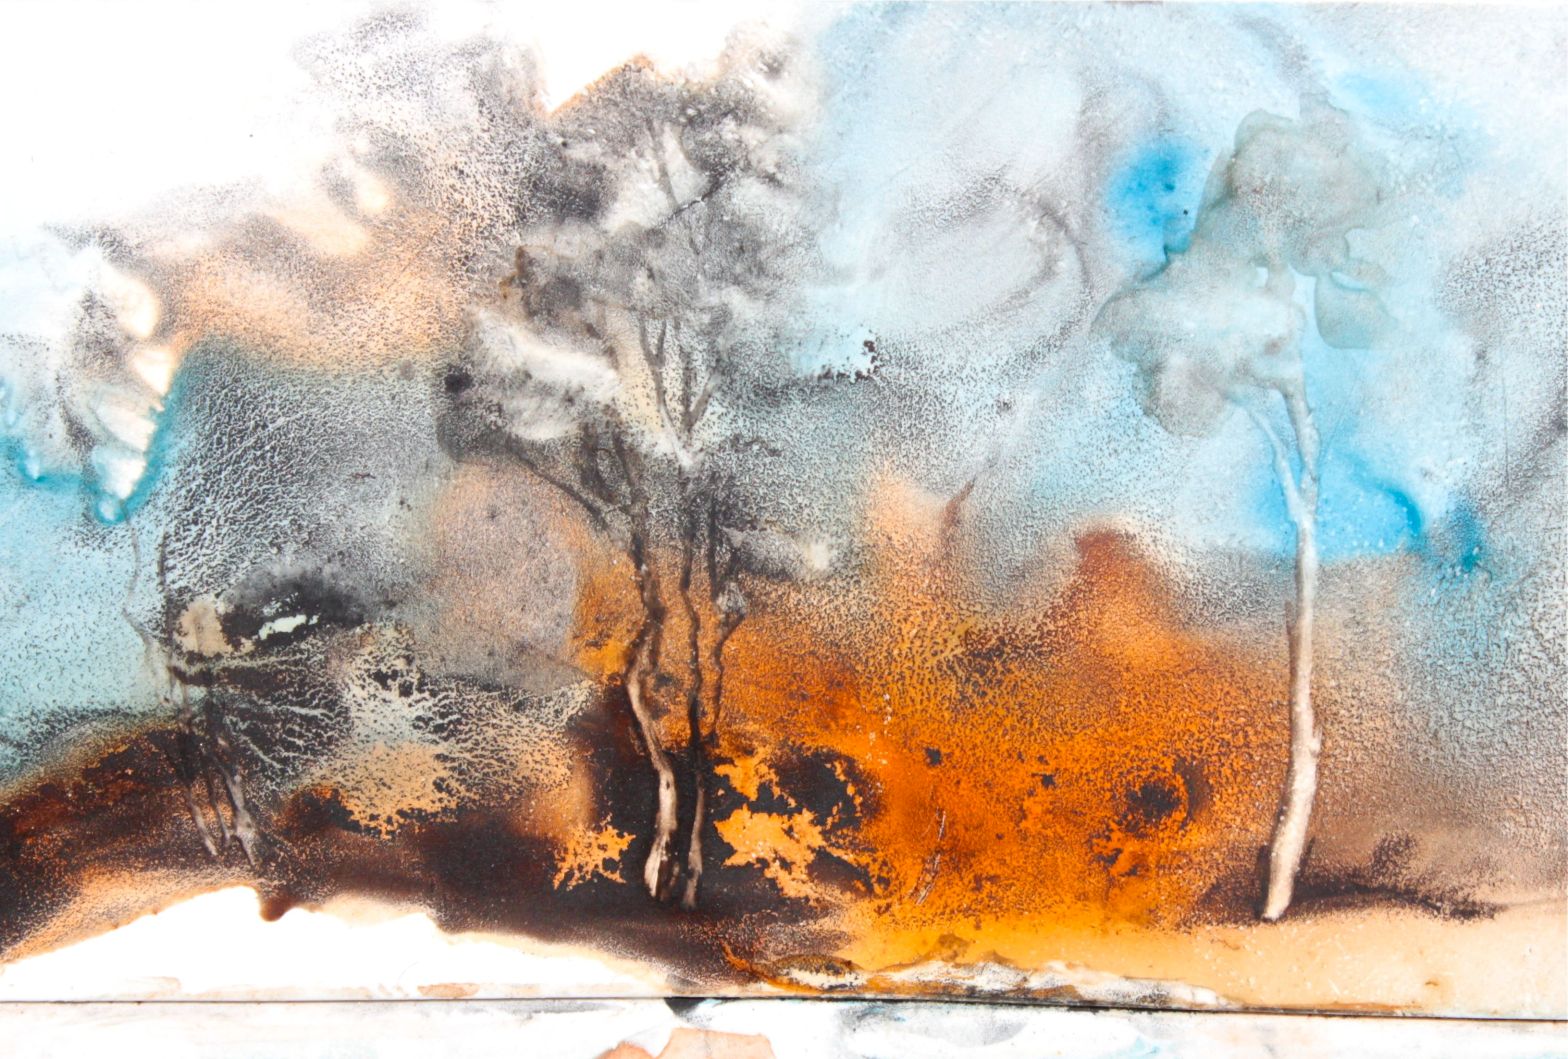
Watercolours are said to be the hardest medium to use, but I’ve found them the easiest of all.

Making ‘mud’ is often one of the first problems that beginners mention especially when colour mixing browns, greys and greens.
My tips in preventing mud are fairly simple and easy to remember and do.
They have evolved over the past 20+ years as a result of my many mud messes ‘creations’ that left me quite frustrated. Wondering “WHY?!” I felt I needed to really research and study how to avoid this very Irksome problem.
As I explored, practiced, tested several hundred tubes of paints in various mixes, some very simple guidelines emerged that helped me (most of the time!) avoid mud.
1. Add paint when the paper is either totally bone dry OR it is quite shiny wet. Impatience at this stage equals Mud. When the paper goes dull, matte and the shine has gone off, it does not want any more paint loaded on. If you do…. you will see the Consequences. Mud.
2. Glazing is a fabulous technique to use that nearly guarantees No Mud. If, you are using the correct Glazing technique, which is on bone Dry paper.
3. Painting with Staining paints (i.e. Prussian blue, Phalo Blue, Permanent Alizarin Crimson, etc) or with Transparent paints (i.e. Cobalt, Permanent Rose, Winsor Lemon, etc) is very useful in preventing Mud.
4. Opaque paints (i.e. Cadmium Yellow, Yellow Ochre, Indian Red, etc) will generally cause Mud very easily. These guys are best left alone by beginners. They really aren’t very sociable mixers, more the ‘soloists.’
When trying to mix colours using Opaques, the mix just gets thicker and thicker, murkier and murkier. Beginners may not, yet, have the skills to compensate for the density of the Opaques.
5. Mixing 2 Warm colours (i.e. Cadmium Red with French Ultramarine) can cause quite a Mud mix as well. If you mix 2 Cool colours (i.e. Permanent Alizarin Crimson with Prussian) No Mud. Or 1 Cool and 1 Warm (i.e. Permanent Alizarin Crimson with French Ultramarine) No Mud.
6. Test Strips are invaluable in preventing the Mud going on to your painting! always test the colour first before you put that colour mix on, so that you can ‘fix’ it beforehand.
7. If you do create a mix that is muddy….. just wipe half of it away; and Add water. This usually is all it takes to Resolve a Muddy mix – before it gets on your painting.
Finally, if Mud does end up on your painting (we all have been there) there are Solutions!
Wait. Wait til it dries totally bone dry.
To “fix” the problem, we have to be patient. Let it dry. Then, test to see its bone dry by lightly scratching the paper to hear if it is a Dry Scratchy sound. If not, keep waiting. Or get the hairdryer out and dry it.
Once it is Dry, you’ll want to lift the paint off or perhaps Glaze over it to camouflage the area. I liken a Glaze in this context to putting makeup on to lift and lighten areas on the face.
So, if you choose to Glaze the Muddy area, make sure the painted mud is not at 100% density on the paper. If it is too dark, glazing won’t work very well here.
Next, if this area is in the Background – you’ll usually, want a glaze that is cool. Cool recedes. A blue will do. Mix and dilute til it is just a mere blush of a tint, a ‘sheer bridal veil’ of colour. When you apply this thin glaze over the Muddy area, do so with big bold strokes! not timid, wavering little bitsy strokes that will surely Stir the Mud UP!!
If you choose to “lift” the Mud off, just use a big wide brush to put clean water over the area. Do not stir the mud up with heavy handed strokes.
Let the water ‘loosen’ the dirt. It may take 1-2 minutes.
Have a nice clean tissue folded, then gently lay the neatly folded tissue over the damp area. Lift up. Perhaps 50% or more will come off. This most usually is sufficient. If not, lay more water over the area one more time and then repeat with the folded tissue.
At this point, the paper needs a ‘rest.’ Do nothing more to it right now. Or there will be Consequences. If you try to paint on it now – you will get Mud.
Why do I say Watercolours are the easiest? Because I can return to them hours later, months later, a year later and make corrections and still retain the integrity of the painting. The edges can still be softened, or made firmer as needed. I do not have to redo the entire painting.
I love acrylics and oils, each in their own special way… But, I can not return to them to make area corrections and still retain the image integrity as I can with watercolours.
Oils have more latitude time wise for corrections due to their slower drying times than acrylics which tend to dry hard edged at the drop of a hat. They both have some wonderful attributes and for specific certain things, I choose them, not watercolours.
But, watercolours are Easier!


Thanks for the tips, and nice blog! I also have one tip or discovery that may be helpful to some,. (When not using the original watercolor paper made of cotton rag because it’s expensive) Try preparing the paper with a thin layer of Gesso. It makes the paper a lot more resistent to water and it’s tough so u can repair mistakes easier without damaging the paper.
LikeLiked by 2 people
Thanks Tim, good info on gesso! Gesso and watercolour definitely can and do pair up quite well, I love the fascinating textures that the underlying gesso can provide to watercolours when applied with a palette knife…. Quite intriguing. Thank you for stopping in and having a browse + your feedback is much appreciated 🙂 You have a great looking website, artwork! I’ll have another visit later as well.
LikeLiked by 1 person
Good Morning Debi, Excellent email on watercolor. Thank you so much. You have just answered so many aspects of painting wc that: “I just didn’t quite figure out or forgot or didn’t quite get by myself or from other sources!” Most recently, I was trying to figure out that warm/cool mix information. Love the way you make watercolor easier. Best wishes, Leslie
LikeLiked by 1 person
Thanks Leslie, I was undecided as to post the avoiding ‘Mud’ article or an article that hopefully, better explains Warm and Cools to beginners. Mud won! 🙂
LikeLike
Love your tutorials. I used to do some watercolor. always meant to get back to it. I think I’ll go dabble in some Corel Painter watercolors soon instead.
LikeLiked by 1 person
Thanks Sherry! its way too difficult to find enough time to do Both, I think. But I look at yours…… and sigh… and wish I could devote the time required to become skilled and get stunning results like You 🙂
LikeLiked by 1 person